
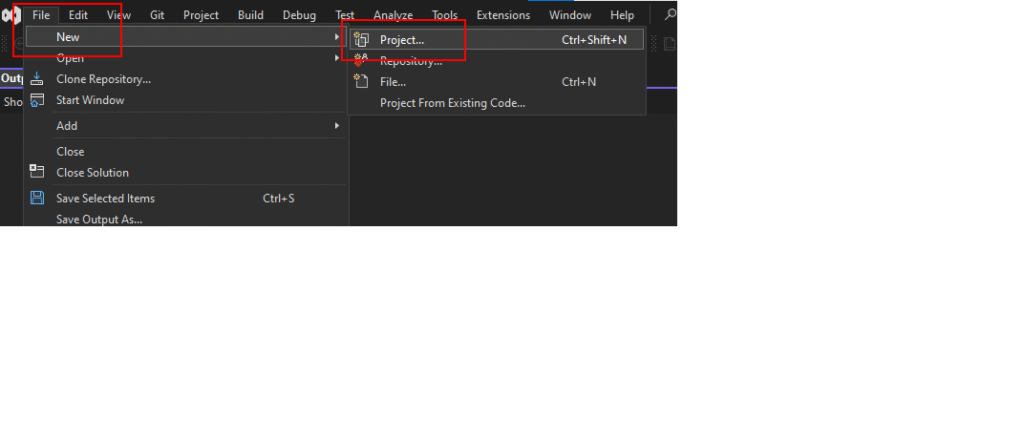
I. Khởi tạo project
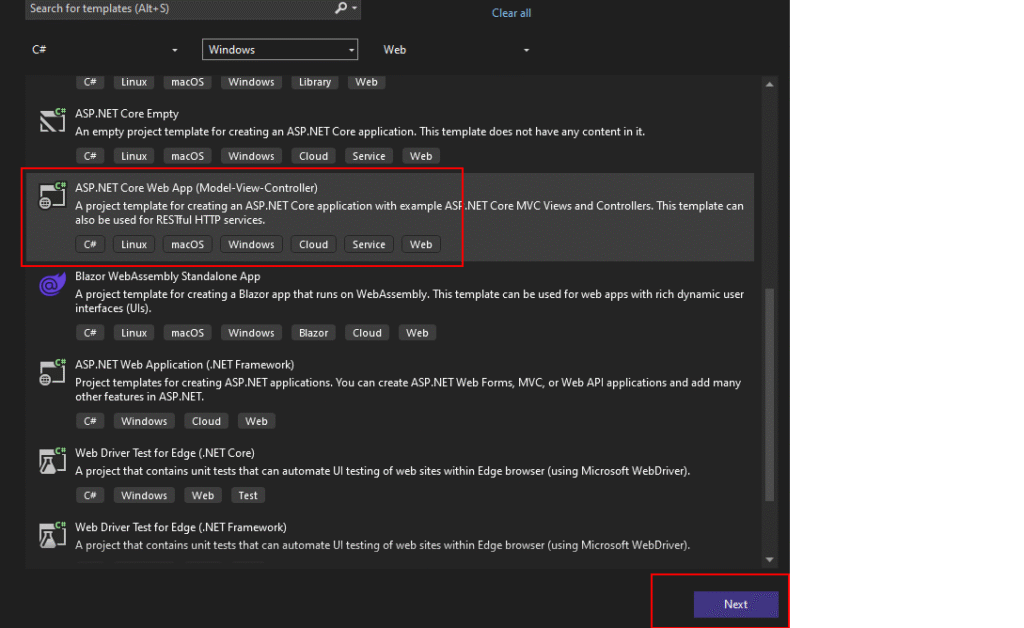
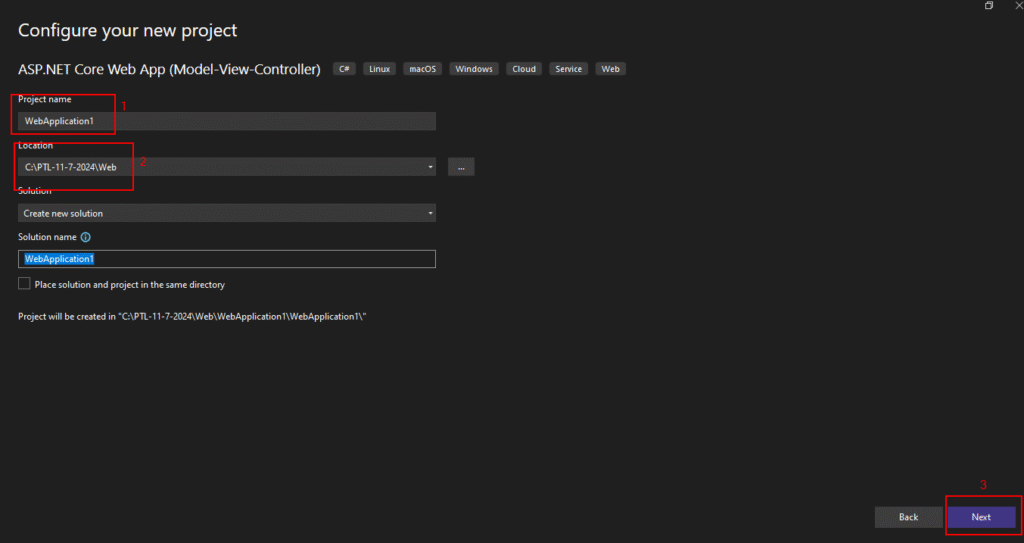
Mở visual studio -> Chọn File -> New -> Project -> Chọn asp.net core web app (Model – View – Controller) -> Chọn Next
II. Cấu trúc dự án
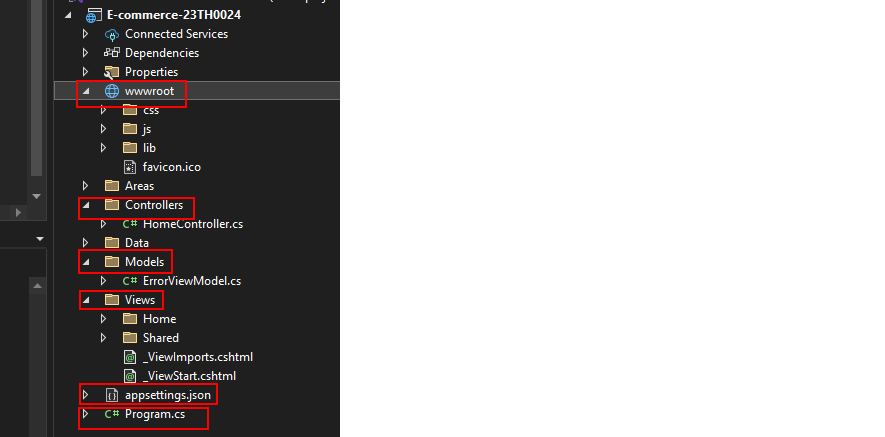
/Controllers/ → chứa các controller (.cs file).
/Models/ → chứa các model dữ liệu (.cs file).
/Views/ → chứa giao diện (.cshtml file).
/wwwroot/ → chứa file static như CSS, JS, hình ảnh.
Program.cs → cấu hình app (startup).
appsettings.json → file cấu hình (database, API key,…).
III. Thiết kế database
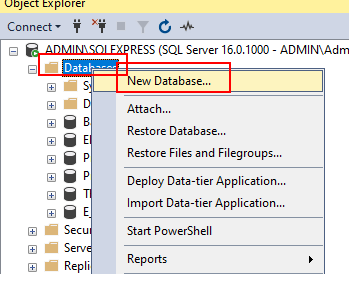
1. Tạo database bằng sql server
2. Thiết kế các table dùng migration ngay trong source code (phù hợp làm việc nhóm cho các dự án lớn)
Ví dụ: Module sản phẩm gồm Loại sản phẩm và Sản phẩm, có mối quan hệ 1-n
2.1 Bước 1: Tạo các class model
TH bạn chưa có sẵn các table trong database thì chúng ta sẽ viết và tạo mới
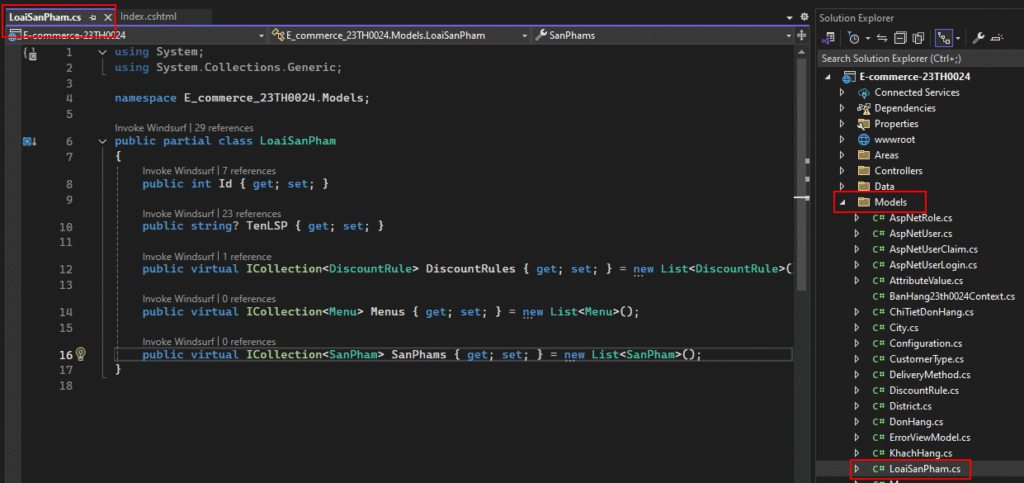
– Vào Models -> Add -> Class -> Đặt tên LoaiSanPham.cs
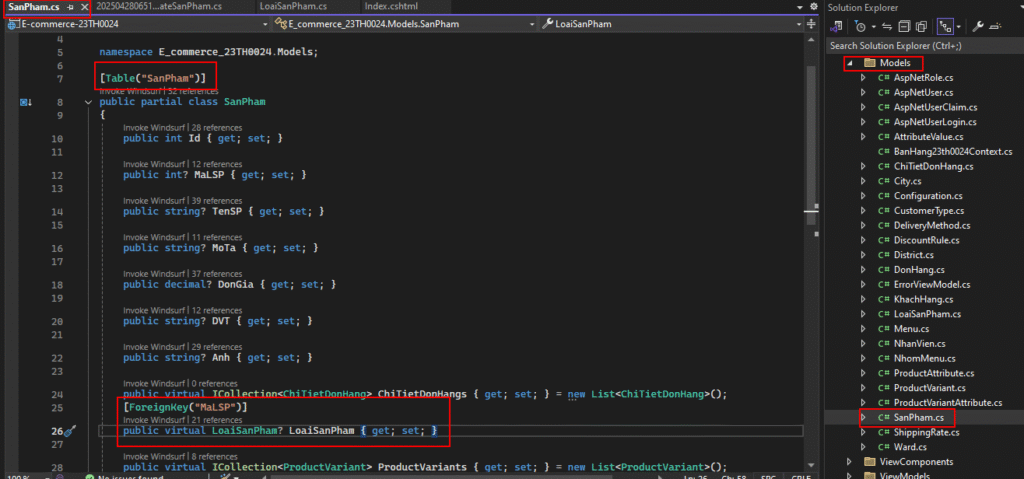
– Tương tự tạo class SanPham.cs
Trong class LoaiSanPham (class vừa tạo), khai báo các thuộc tính của table
public int Id { get; set; }
public string? TenLSP { get; set; }
Lưu ý:
– Đặt tên khóa chính: Id
– Table LoaiSanPham có mối quan hệ 1-n với table SanPham nên sau khi tạo class SanPham, chúng ta sẽ quay lại cập nhật class LoaiSanPham với thuộc tính
public virtual ICollection<SanPham> SanPhams { get; set; } = new List<SanPham>();
Trong class SanPham vừa tạo khai báo các thuộc tính
[ForeignKey(“MaLSP”)]
public virtual LoaiSanPham? LoaiSanPham { get; set; }
– Khóa ngoại [ForeignKey(“MaLSP”)]
2.2 Bước 2: Tạo các file migration chứa code tạo các table
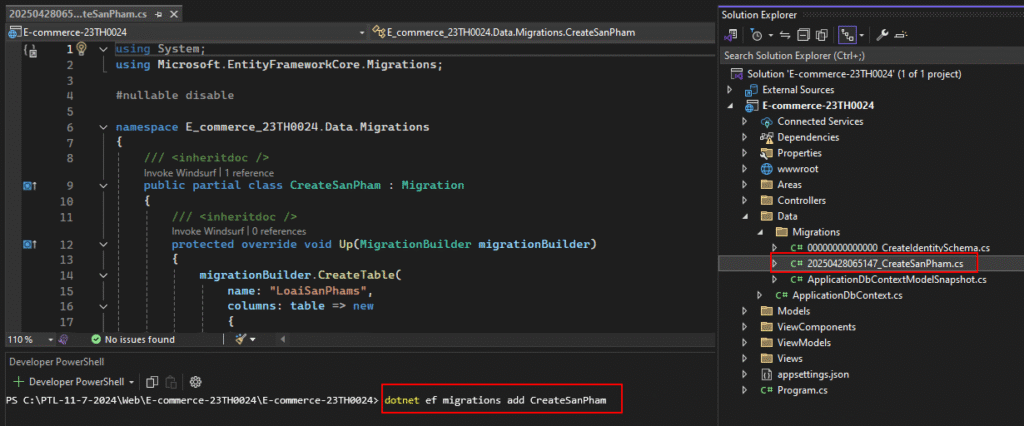
Chạy lệnh
2.3 Cập nhật cấu trúc table LoaiSanPham và table SanPham trong sql server
Sau khi viết xong migration thì cập nhật vào database
Cách 1: Cập nhật toàn bộ database
IV. Module Loại sản phẩm
V.Build và publish dự án
dotnet clean
rd /s /q bin
rd /s /q obj
dotnet restore
dotnet build
dotnet publish -c Release -r win-x64 –self-contained true
hoặc dotnet publish -c Release -r win-x64 –self-contained true -o ./bin/Release/net9.0/win-x64
hoặc dotnet publish -c Release -r win-x64 –self-contained false -o ./bin/Release/net9.0/win-x64
dotnet run
1. Cài đặt gói Microsoft.AspNetCore.Mvc.Razor.RuntimeCompilation (Không bắt buộc)
dotnet add package Microsoft.AspNetCore.Mvc.Razor.RuntimeCompilation
2. Bật chế độ biên dịch Razor views khi publish
<PropertyGroup>
<TargetFramework>net6.0</TargetFramework>
<RuntimeIdentifier>win-x64</RuntimeIdentifier>
<SelfContained>true</SelfContained>
<PreserveCompilationContext>true</PreserveCompilationContext>
<MvcRazorCompileOnPublish>true</MvcRazorCompileOnPublish>
</PropertyGroup>
3. Kết quả
YourProjectName.dll
YourProjectName.Views.dll
YourProjectName.pdb
www.root